
In this article
Are you still paying twice — for time and for the system?
Is manually moving caregiver data from the Hrily CRM into Excel, accounting or marketing systems your daily reality? If so, in your care agency you are paying twice: for the system and for your employees' time.
Imagine that this key data — phone numbers, candidate statuses — lands where it's needed, automatically.
Foundation of automation: Make a Request to Hrily — step by step
Step 1: find your login address
Before we do anything in Make, we need to know how the Hrily system handles your login.
- Open the Hrily system in your browser.
- Open Developer Tools (usually F12).
- Go to the Network tab.
- Click Sign in in Hrily.
- Find the
sign_infile responsible for logging in. - Copy the technical connection address (Request URL), the connection type and the full Payload with the password and login.
Step 2: logging in inside Make (POST)
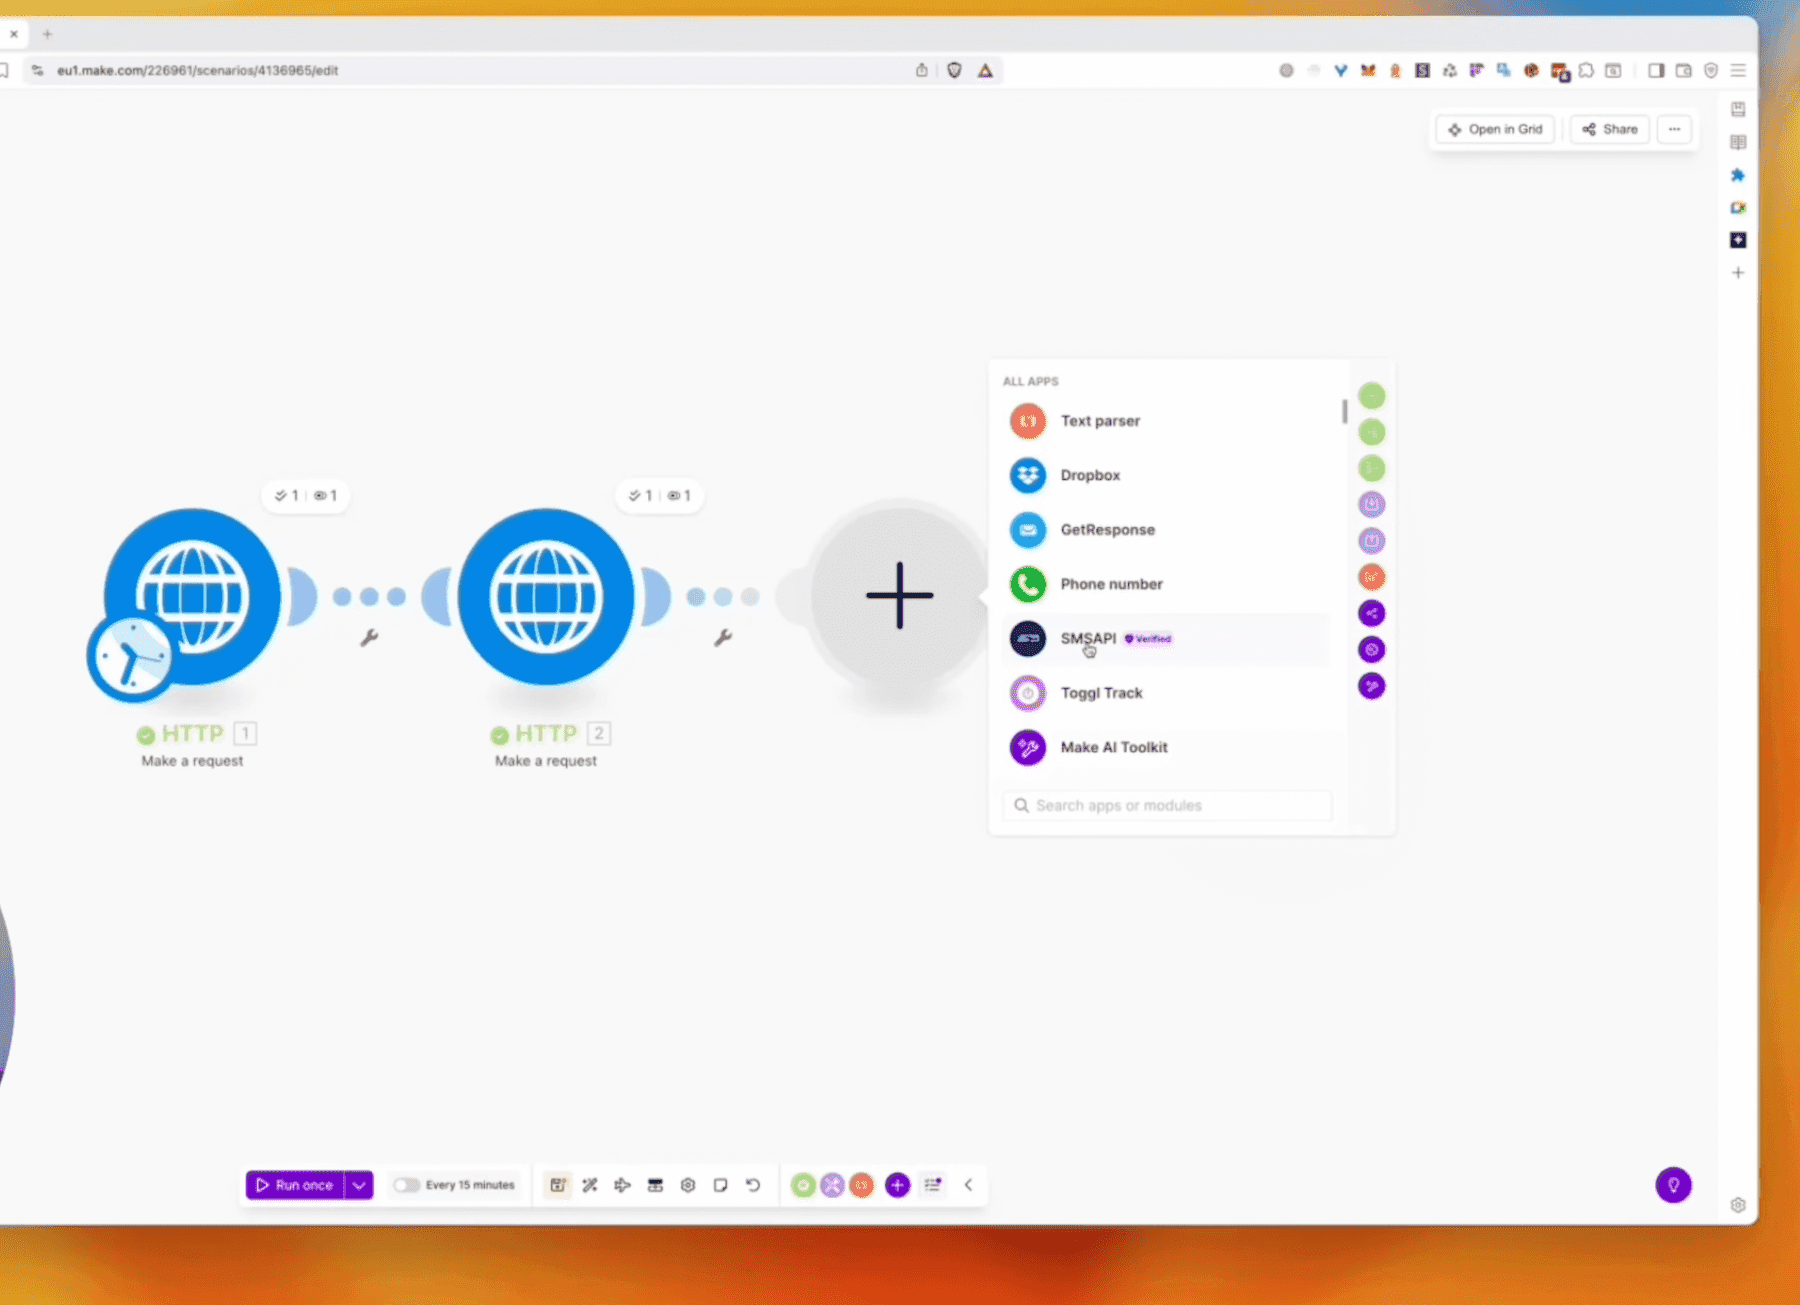
We move to Make and add the HTTP: Make a request module.
- URL: paste the address you copied in step 1.
- Method:
POST— used to send login data. - Body Type:
Raw, Content TypeApplication/JSON. - In Body enter the Payload with the login and password.
- Run the module — you should see Status 200.
Step 3: actually fetching the data (GET)
This is the step that translates into real savings. We want to fetch a list of specific caregivers, e.g. with the status "Q5 — New Candidates".
- Add another HTTP: Make a request module.
- Method:
GET— we're fetching data. - URL: while logged into Hrily on the "New Candidates" view, copy the address responsible for this view from the Network tab. Make sure to use the correct query (e.g.
q5).
Step 4: passing the key — the Cookie header
So that Hrily knows it's still you requesting the data, we need to pass the authorization "key".
- After the first login (step 2) the system generated a
Cookie(authorization token). Find it in the response. - In the second Make module (GET), in the Headers section, paste the Cookie.
- Add a header:
Accept: application/json. - Run the scenario!
Instead of the Hrily view you'll get a formatted JSON with candidate data (e.g. Jarosław Kowalski). You see what matters most: phone number, first name, last name, status. You now have a clean, ready-to-use data object.
Make vs n8n — which integrator to pick?
| Feature | Make | n8n (self-hosted) |
|---|---|---|
| Getting started | Ideal for the start, simple interface | Requires technical knowledge to install |
| Cost / scale | You pay per operation — like a taxi | You pay for the server — like owning a car |
| Frequency | Gets expensive with frequent runs (e.g. every minute) | Cheaper and more efficient at large scale |
Congratulations! What now?
You've just built your first key automation. You have caregiver data outside Hrily, and that opens the door to real savings:
- Marketing: automatically adding candidates to email marketing systems.
- Sales / support: instant SMS dispatch after a candidate's status changes.
- Accounting: syncing data into invoicing systems (e.g. wFirma).
- Reporting: automated summaries of recruiters' work.

Mateusz Kozłowski
Founder of flowbiz · Process automation expert
I implement automations, integrations and AI in mid-sized companies across Pomerania and Kuyavia-Pomerania.